
How to Fix a Leaking Tap
Before you start this repair, you need to do two things:
1. Get replacement parts
Washers for most taps above come in standard sizes. However, some modern taps do without washers altogether or may have different seals. See below for more on washerless taps.
2. Turn off the water supply (see below to learn how)
You may find an isolation valve on the pipe below the tap you need to work on. This needs to be turned with a screwdriver. If there isn’t one, find the nearest stopcock and turn off the supply there instead. Turn on the tap to make sure no water is coming out before you start to dismantle it!
Fixing taps: the steps
1. Remove the handle and cover from the tap (or the combined handle and cover) then unscrew the tap headgear nut to remove the body of the tap from the fitting. Cover the nut with a cloth if it will be visible while the tap is in use, to protect it from scratches.
It is important to secure the spout while you unscrew the headgear, in order to prevent the whole tap turning round. This can damage the pipework or crack the sink. Get a helper to hold the tap firmly by the spout or hold it with the hand not holding the spanner. Use penetrating oil to loosen the nut if it is stuck, rather than using too much force and breaking your bathroom suite.
2. Once the body of the tap comes away, you can remove the old washer from the pin at the bottom. It may just pull off with pliers, or you may need to remove a small nut or screw.
You should be able to see the damage to the washer that is causing the drip. If the washer appears to be in good condition, then the valve seat inside the fitting may have worn down instead. This can be repaired at home, but it’s best to call a plumber as special tools are needed to regrind the surface of the valve.
3. Fit the new washer. It may be a tight fit to get the washer over the pin. If so, apply some petroleum jelly and use the side of your pliers or a spanner to push it down.
4. Now you can replace the tap headgear, taking care to hold the tap securely when tightening the nut. Turn the water supply back on and check the tap is working properly again.
Mixer taps
Mixer taps come in a range of different designs but most consist of two taps attached to a single, central spout. These taps can be mended in the same way as single taps. However, you will need to work out first which tap is causing a drip from the communal spout. The simplest way to do this is to turn off the supply to each tap in turn and check which stops the drip.
Mixer units may also have a separate ‘o-ring’ seal at the base of the spout. This can be replaced without turning off the water supply, but make sure you get the correct size replacement before starting work.
Washerless taps
Taps with ball valves or ceramic discs are two modern designs that don’t have traditional washers to seal the pipe shut. These usually have a mixer function and pivoting handles that control water flow and temperature. These taps are less likely to need maintenance than traditional models. However they do have various seals and moving parts that can go wrong. If you have had them fitted recently, you may find the user manual gives enough information on how to dismantle the tap head and replace
a leaking ‘o-ring’ or another simple part.
If not, it’s usually best to call in a plumber the first time something goes wrong and take note of how it’s done. It’s not strictly in their interest, but you could try asking them to leave a few spare seals for you to use next time!
How to turn off the water
If you don’t know how to turn off the water supply to your home, you should set about finding your stopcocks (called stop valves in Australia) straight away. If a disaster happens and a pipe leaks, turning off the water quickly can make the difference between a damp carpet and major structural damage.
The external supply
Depending on your home, there may be one or two stopcocks that turn off the water supply. For houses, one can usually be found on the property border near the street. This should be under a small iron cover, suitably labelled. You may have a water meter and, if so, you might find this under the same cover. (Most Australian and New Zealand houses have water meters, which are located above ground.) The stopcock is simply a tap but, as in Britain it is normally a couple of feet underground, you’ll need a simple tool called a ‘stopcock key’ to turn it. These are sold for very little money in DIY merchants. However, most homes come with one ready supplied by the previous occupants, so you may find one in your meter cupboard or garage.
Caution
In Australia and New Zealand, almost all plumbing work beyond simple tasks such as replacing taps or washers must be carried out by a licensed plumber. In particular, it is illegal for anyone other than a licensed plumber to perform work on any system connected to the main water supply or the sewer system. The purpose of these regulations is to prevent the contamination of the water supply and other serious problems. It is essential to check with your local authority before undertaking any plumbing work.
The internal cold water stopcock
A second cold water stopcock is often found inside a property – commonly under the kitchen sink. This will be a large tap that you turn with your hand. When you find your stopcocks, this is a good time to check that you can turn them on and off. They may become stuck if they haven’t been turned for years, and you don’t want to discover this when you are in the middle of an emergency. If you find a tap is stuck, spray it with some penetrating oil to loosen it and then close and open it to check it works.
The hot water stopcock
Your home will also have a second internal stopcock for the hot water supply. This will usually be found at the outlet of your boiler or hot water tank. If you need to turn off the hot water, turn off the water heater at the same time.
Other shut-off taps
You may find taps that control individual parts of the water supply elsewhere in the home. For example, showers, baths and sinks may have valves in the pipes nearby that you can use to isolate these fittings without turning off the whole supply.
A constant drip from a tap should be fixed as quickly as possible, especially if you pay for your water via a meter. Even one drip per second can add up to more than 80 litres of water down the drain in just a day.
A drip from the spout
This is usually caused by a worn washer. Most of us know vaguely that ‘replacing the washer’ will solve this, but not where the washer in question can be found or, indeed, how to replace it. The diagrams on the next page aim to make everything clear. They show the two most common types of taps, and the washer that wears out most often at the base of the handle unit.
The washer forms a seal that prevents water from the pipe below from flowing out when the tap is closed. It is made of rubber and, when this gets damaged or perished, it no longer makes a proper seal and needs replacing.
Tools for replacing a washer
Depending on the type of tap you have, you will need an adjustable spanner or ‘monkey wrench’, a thin cloth or rag, pliers, a screwdriver, and possibly some petroleum jelly and penetrating spray oil to loosen any stuck screws and nuts.
Recent Posts
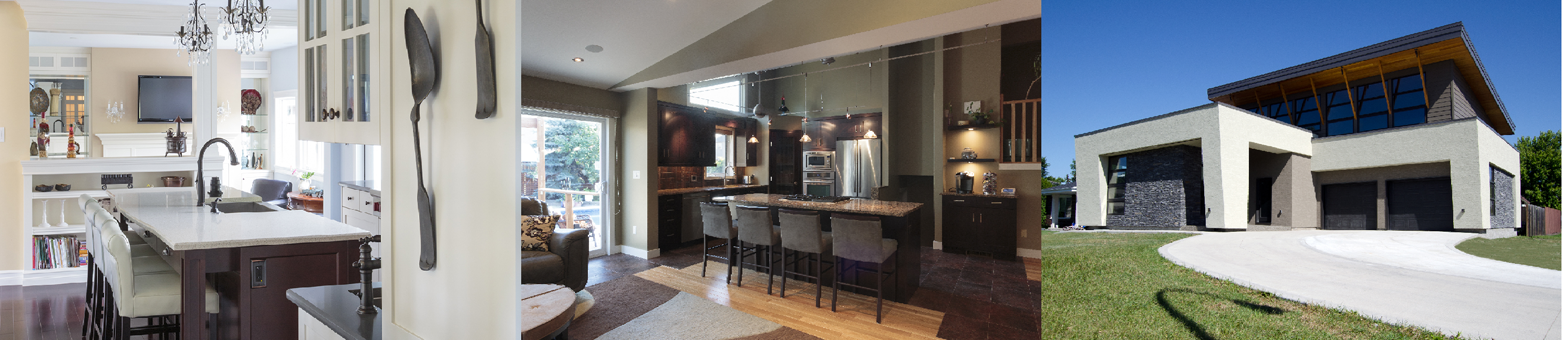
Kitchen renovation tips
February 19, 2018
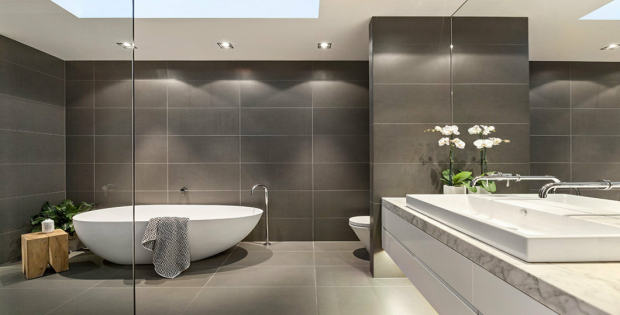
Six of the most common bathroom renovation mistakes
August 18, 2017
Tips for Preparing your home for Winter
June 9, 2017
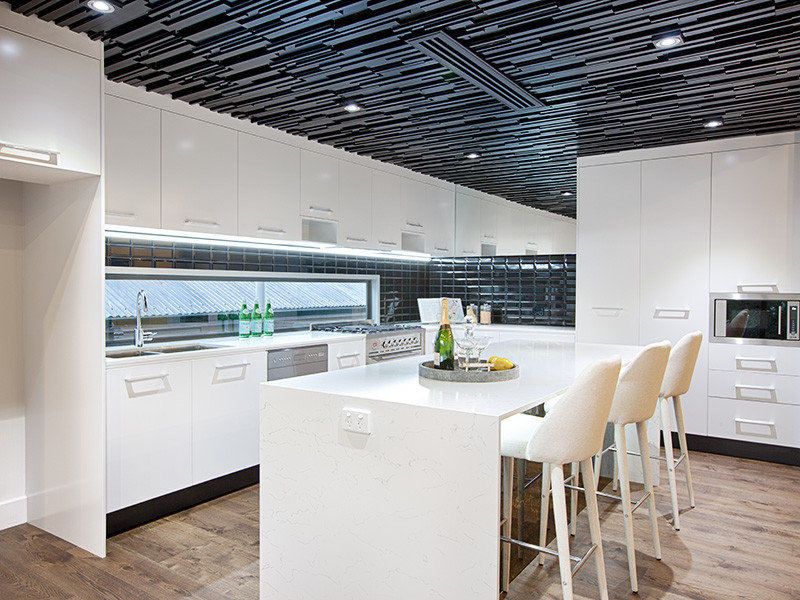
How To Estimate The Cost Of A Kitchen Renovation
November 25, 2016